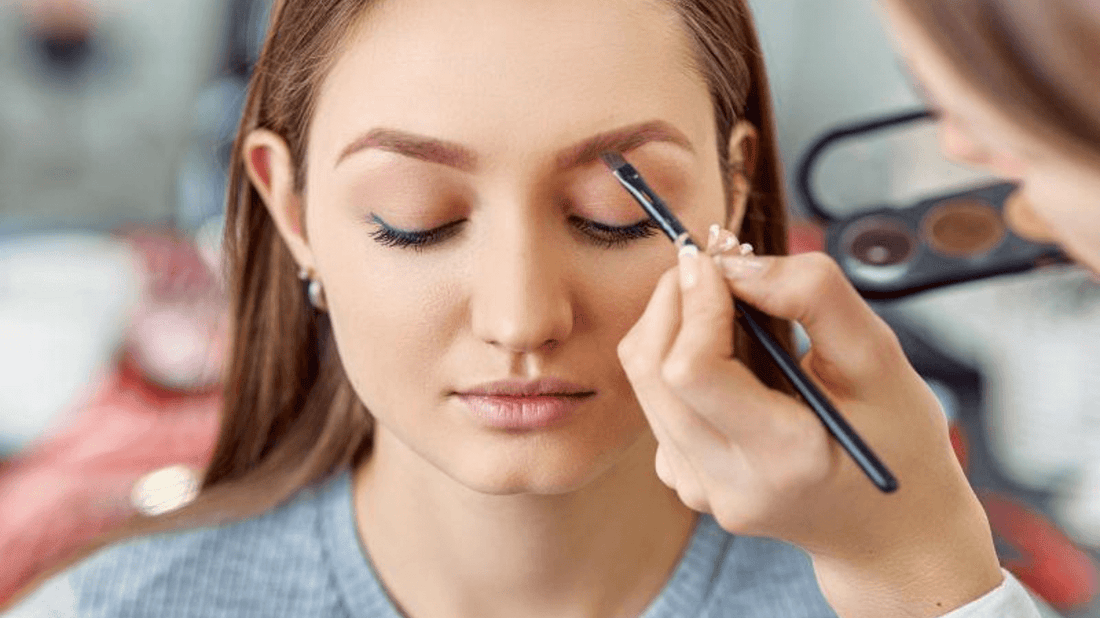
Perfect, Professional Brows Every Time — Why Beauty Experts Trust Eyebrow Powder
Share
As a beauty professional, you know brows frame the face — and that the balance between precision and softness can make or break your client’s look. That’s why eyebrow powder is a kit essential for artists who want versatile, natural, and long-lasting results. It adheres to both hair and skin, blends seamlessly, and photographs beautifully for bridal, studio, and salon work.
Marie-José professional eyebrow powders come in nine highly pigmented, water-resistant shades. Pair them with the White Stick primer to create a waterproof base with all-day wear — ideal for oily skin, humid climates, and long events.
Pro Kit Checklist
- Professional mirror & good lighting
- Marie-José Eyebrow Powder (multiple shades for different clients)
- White Stick Primer for waterproof hold
- Brow comb / spooly
- Angled brow brush
- Eyebrow gel (clear or tinted)
- Highlighter or concealer
- (Optional) Eyebrow stencils or pencil for mapping
Why pros choose powder: softer, more dimensional finish, buildable coverage, forgiving for sparse areas, and fast to blend on busy days.
Pro Tip: For clients with oily skin or minimal hair, powder + primer delivers lasting color without a harsh, drawn-on effect.
Professional Application: Step-by-Step
Step 1: Choose the Right Shade
Select a tone that complements hair and complexion — typically one shade lighter than the natural brow for a soft, true-to-life finish.
Step 2: Map the Brow Shape
Use a pencil or brush handle to identify start, arch, and end points. Mark lightly with the White Stick for accuracy before you apply color.

Step 3: Prep for Longevity
Comb through brows with a spooly. Apply White Stick Primer to the hairs and surrounding skin where powder will sit — this creates a grippy, waterproof base.
Step 4: Define the Perimeter
Dampen an angled brush, tap into eyebrow powder, and lightly outline the lower and upper edges. A soft perimeter prevents over-application later.
Step 5: Fill & Blend
With a dry angled brush, press powder into sparse areas using short, hair-like motions. Blend with a spooly to diffuse and even the pigment. (Stencils can help beginners or for perfectly uniform shapes in back-to-back appointments.)
Step 6: Set & Perfect
Swipe on clear or tinted eyebrow gel to lock the shape. Finish by tracing beneath the brow with concealer or highlighter for lift and crisp definition.
Powder vs. Pencil — What Serves Your Client Best?
| Feature | Eyebrow Powder | Eyebrow Pencil |
|---|---|---|
| Finish | Soft, natural, full | Sharp, structured, defined |
| Best For | Filling sparse areas, natural volume | Precision shaping and crisp lines |
| Skin Type | Ideal for oily or combination skin | Best for normal to dry skin |
| Longevity | Water-resistant with White Stick primer | Long-wear with setting gel |
Bottom line: Keep both in your kit for maximum flexibility — but for natural fullness, quick blending, and photo-friendly finishes, powder is the pro’s workhorse.
Build Your Brow Service Menu
- Rapid Natural Brow (15–20 min): Powder fill + gel + highlight.
- Event-Proof Brow (25–30 min): Powder on White Stick base + set + precision cleanup.
- Hybrid Sculpt (30+ min): Pencil for perimeter & strokes, powder for fullness, laminated set (if offered).
Tip for salons & freelancers: Stock 3–5 core shades and retail a mini take-home kit. Clients love maintenance products — and you add an easy revenue stream.
